Documentation
Docs & Guides
Step-by-step walkthroughs for everything Encrypt Send does — from your first install to Pro branding.
Step 1
Install from the Zoom Marketplace
Encrypt Send installs straight from the Zoom Marketplace — no separate account, no manual setup.
Step 2
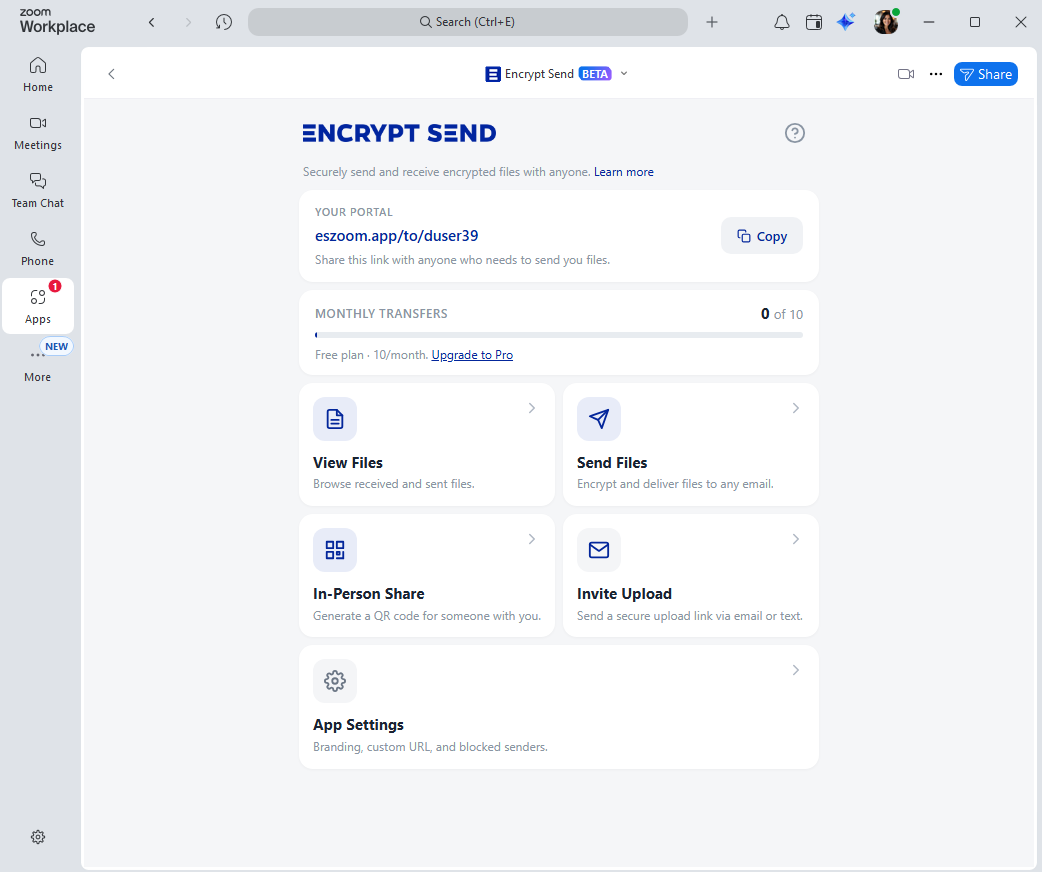
Receive files via your portal
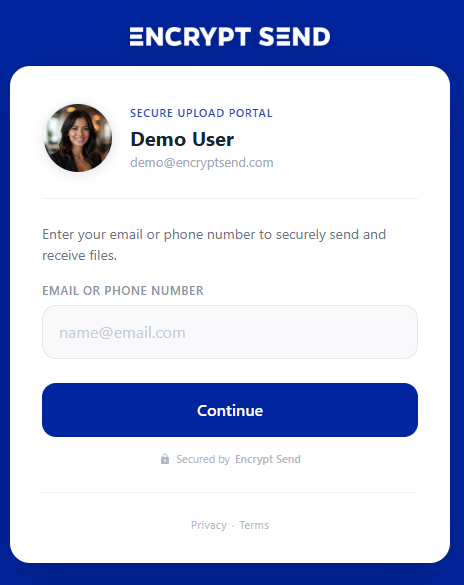
Every user gets a personal upload link. Guests verify with a quick code — no Zoom account needed on their end.
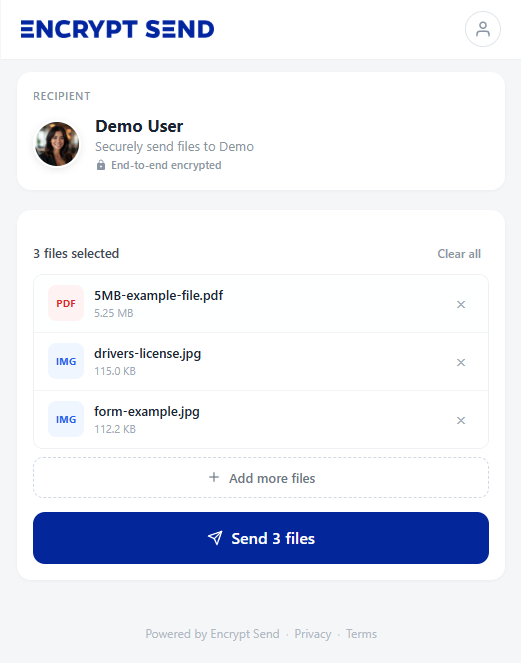
Guest uploads files
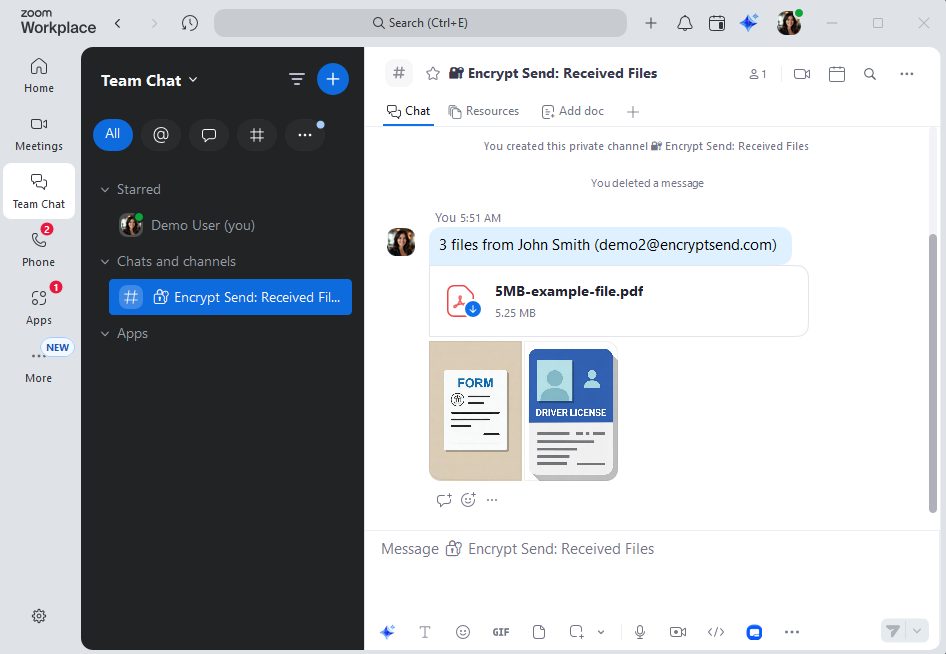
You get a Team Chat notification
Step 3
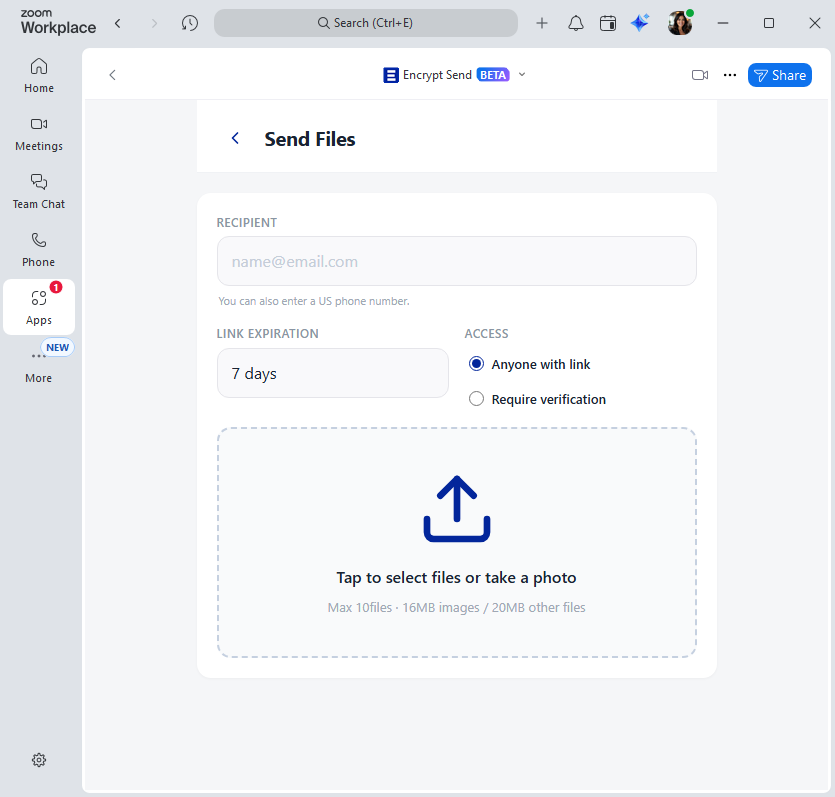
Send files to anyone
Send files to any email or phone number — recipients get an automatic email with a secure download link.
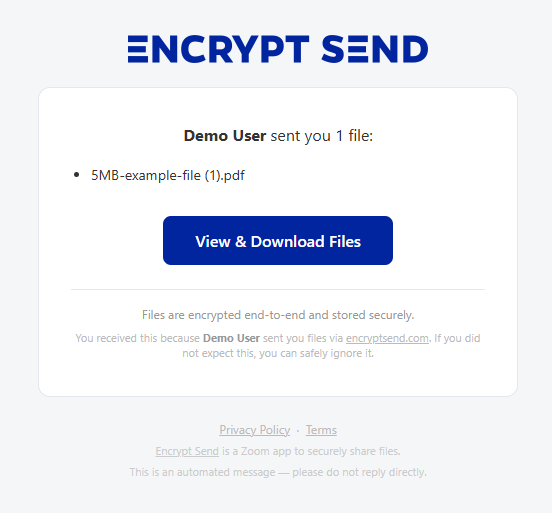
Recipient sees a clean email
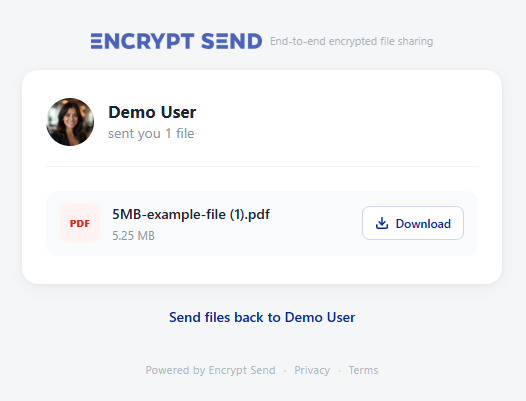
Easy download page
Pro tip
Use Encrypt Send with Zoom Phone
Every share link is one click to copy — perfect for follow-up texts and live walkthroughs on a call.
Bonus flow
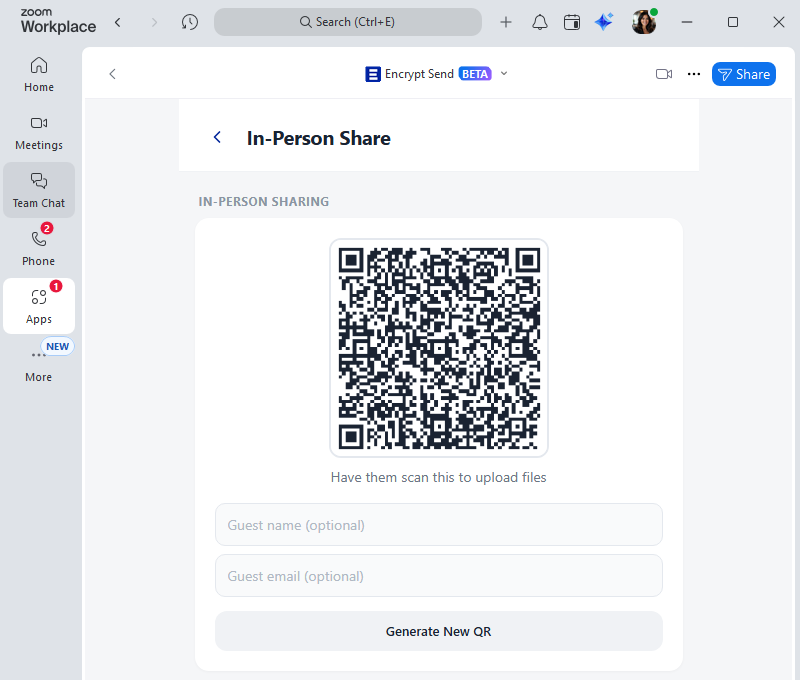
In-Person Share — instant QR code
Face-to-face? Skip email entirely. Generate a QR code, your guest scans it, and they upload immediately.
Bonus flow
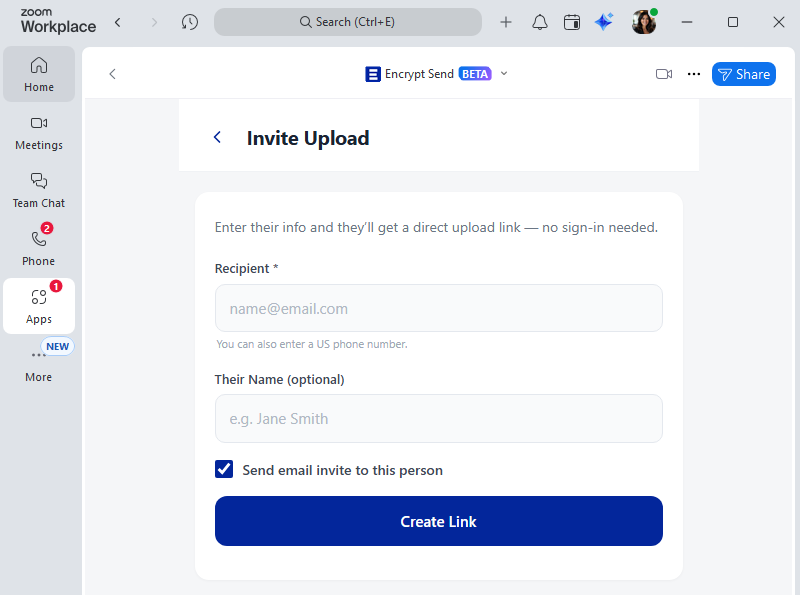
Email Invite — request files in one click
Send a branded upload request via email. Your contact clicks the button and goes straight to your portal — no walkthrough required.
Tracking
Audit Log
Track every file event in one place. See when files are sent, received, downloaded, or revoked, and by whom. Events are retained for 12 months.
Audit Log
File access and transfer events from the past 12 months.
Received +1 (555) 012-3456
Received 1 file(s): contract.pdf
Downloaded +1 (555) 012-3456
Downloaded: contract.pdf
Link accessed Anonymous
Share link accessed (batch xK9m...)
Sent alex@example.com
Sent 1 file(s) to +1 (555) 012-3456: contract.pdf
Configuration
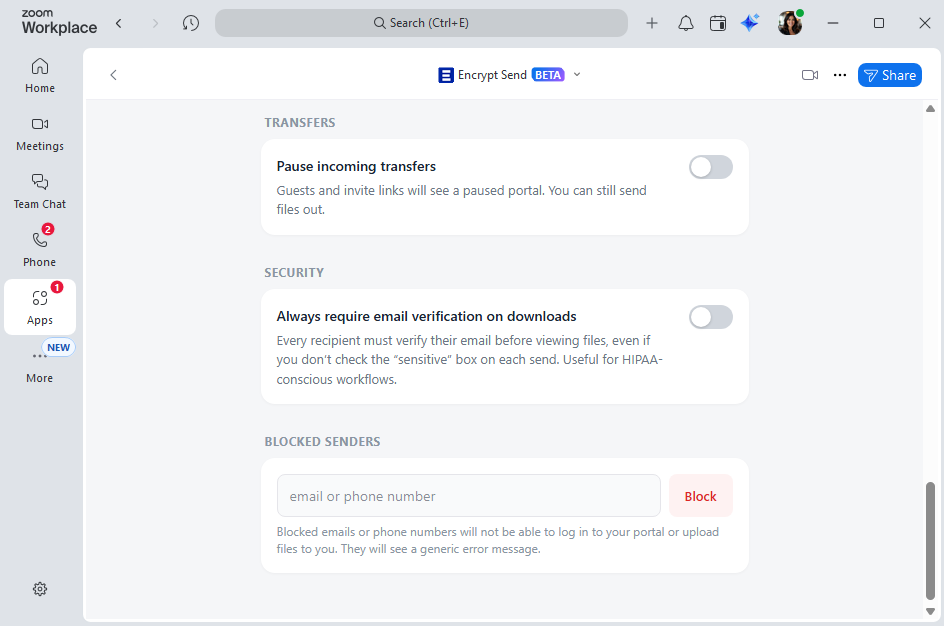
Settings
Control who can send you files, when, and how.
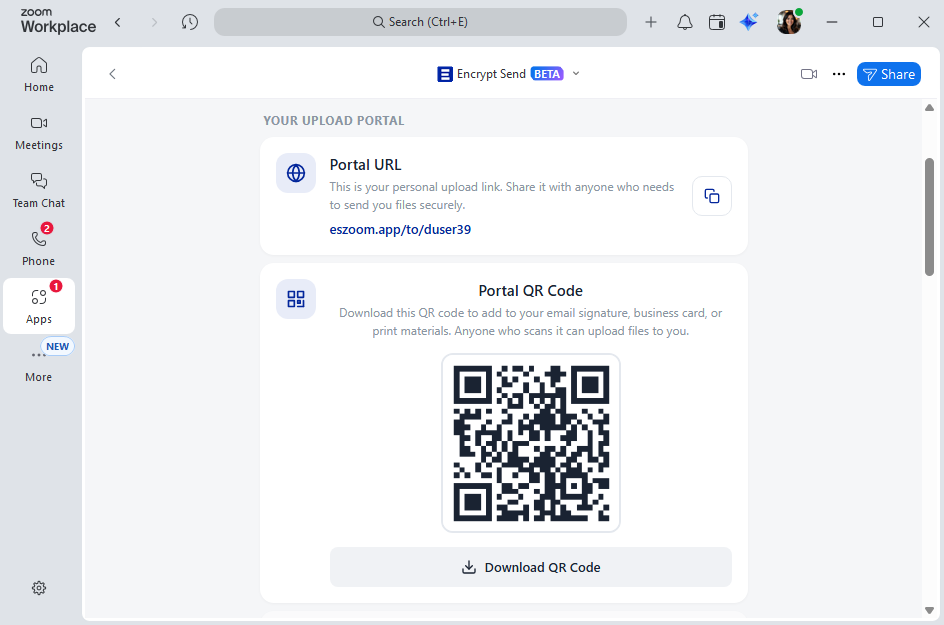
Portal URL & QR
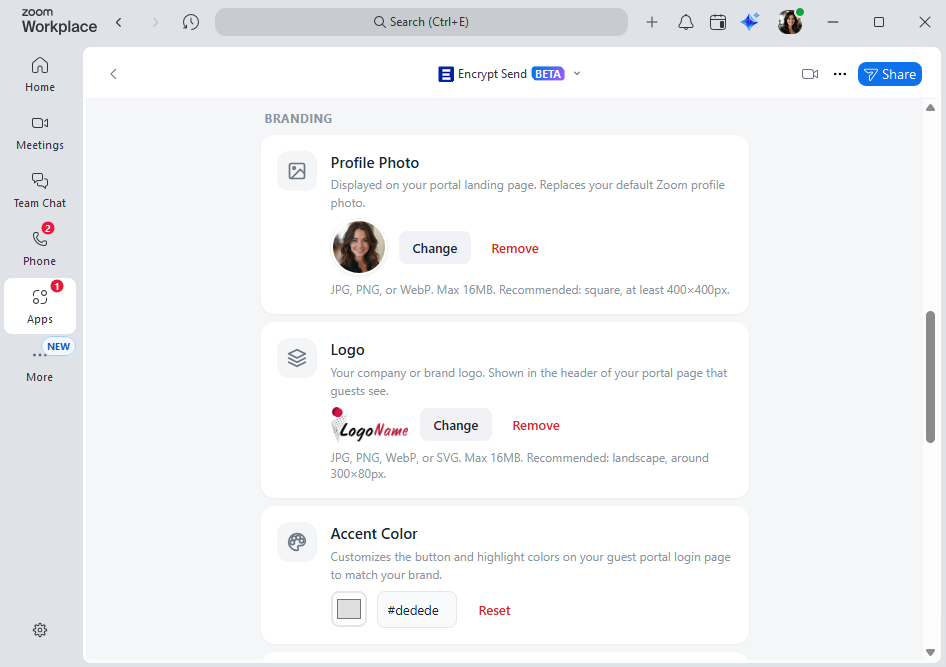
Pro branding controls
Plans
Upgrade to Encrypt Send Pro
Unlimited transfers, a custom portal URL, full branding control, and extended file expiration.
- Unlimited monthly transfers (Free is 10/month)
- Custom portal URL like
/to/yourname - Custom profile photo and company logo on your portal
- Accent color to match your portal to your brand
- Extended file expiration — 7, 30, 90 days, or never (Free is 7 days)
Uninstall
Removing the app
You can uninstall Encrypt Send any time from the Zoom App Marketplace.
- Sign in to your Zoom account and open the Zoom App Marketplace.
- Click Manage → Added Apps, or go directly to your installed apps.
- Click "Remove" next to Encrypt Send for Zoom.
Once removed, your access tokens are revoked and any data Encrypt Send had stored for you is cleaned up.